Are you ready to embark on an exciting ARK adventure with your friends? Setting up your own ARK server gives you full control over the gameplay experience, allowing you to customize settings, invite friends, and explore the vast world of ARK on your terms. This guide walks you through setting up and optimizing your newly purchased ARK server to ensure smooth gameplay.
Log In to the Game Panel ↗
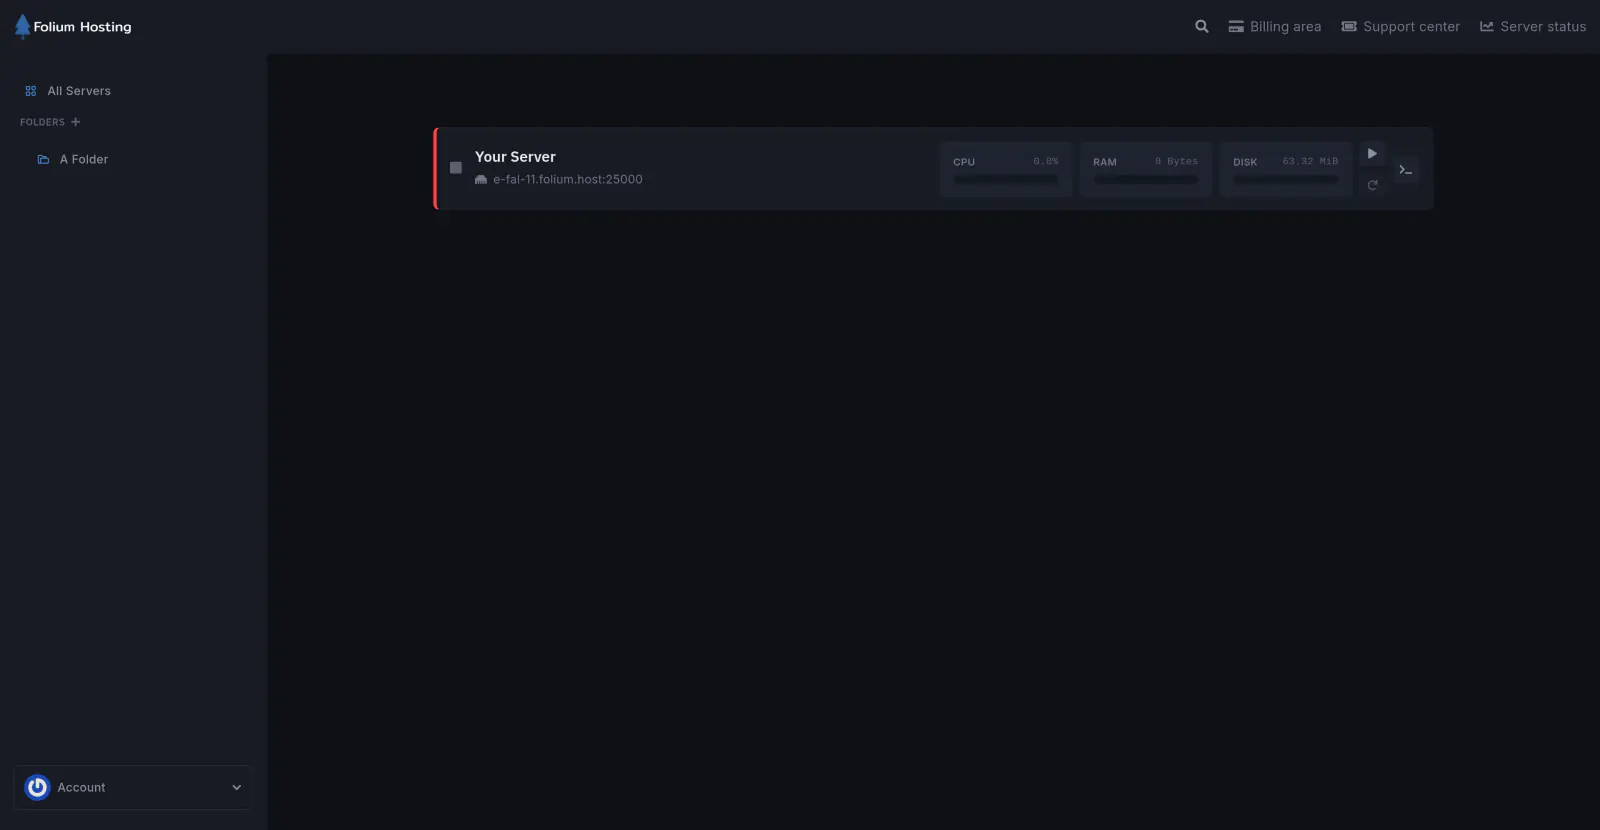
Select Your Server
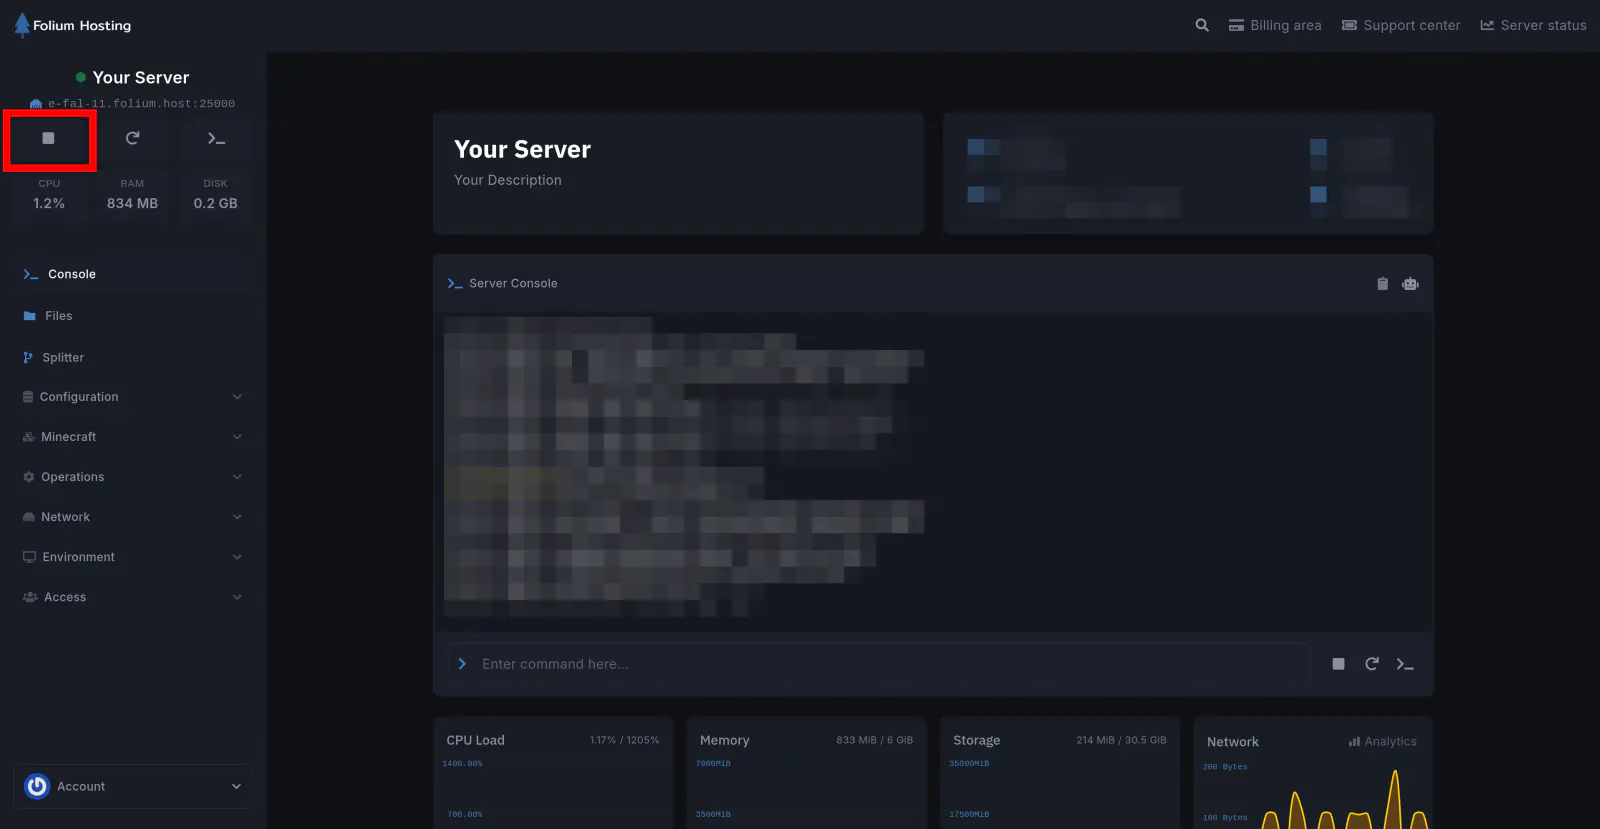
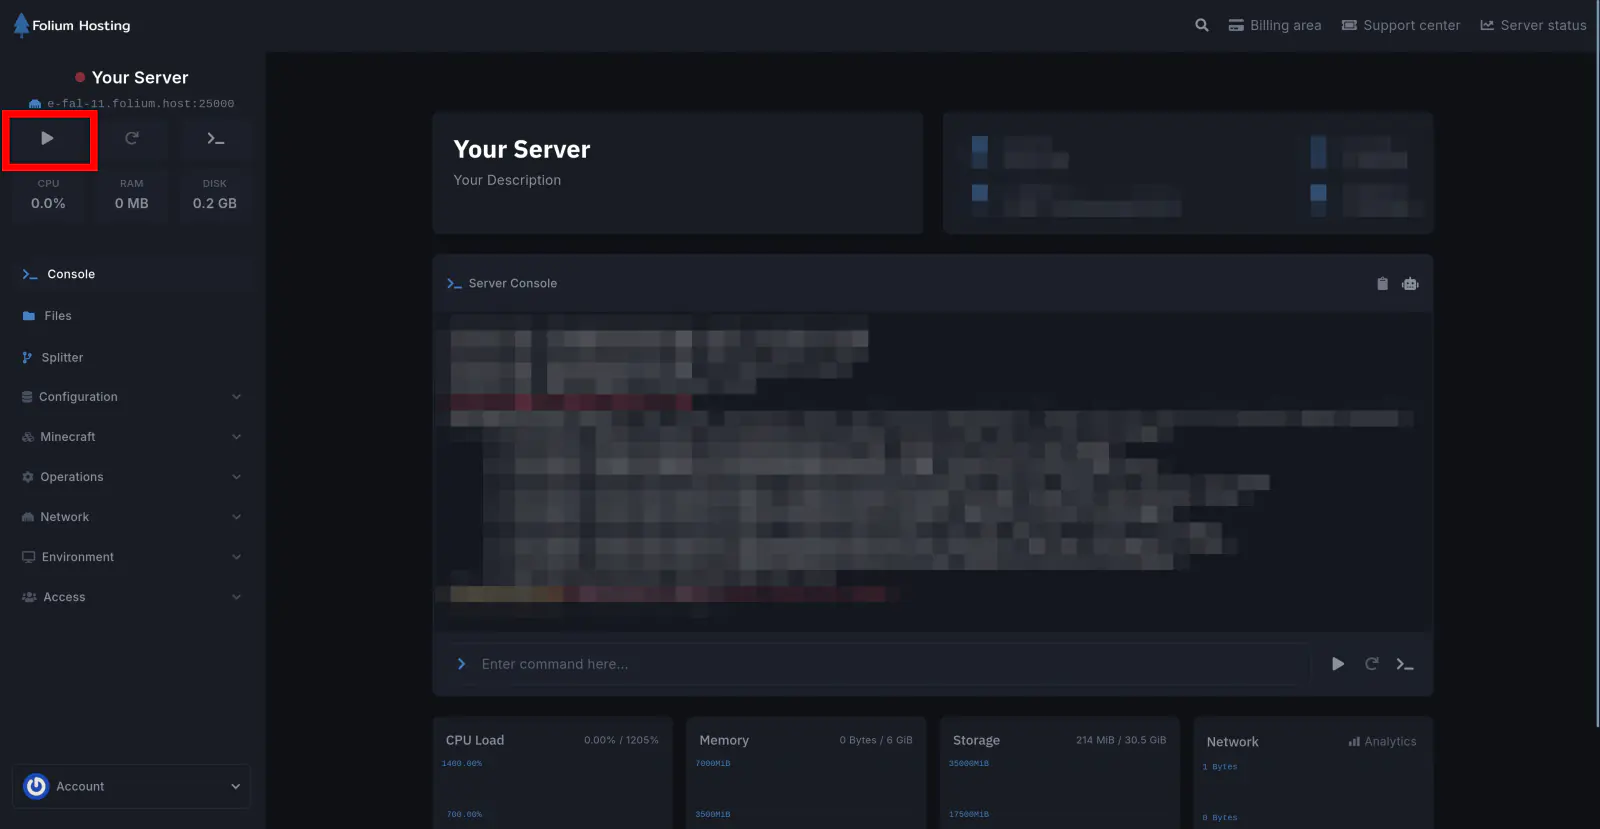
Stop the Server
Stop your server before making any changes.
Open the Network Tab
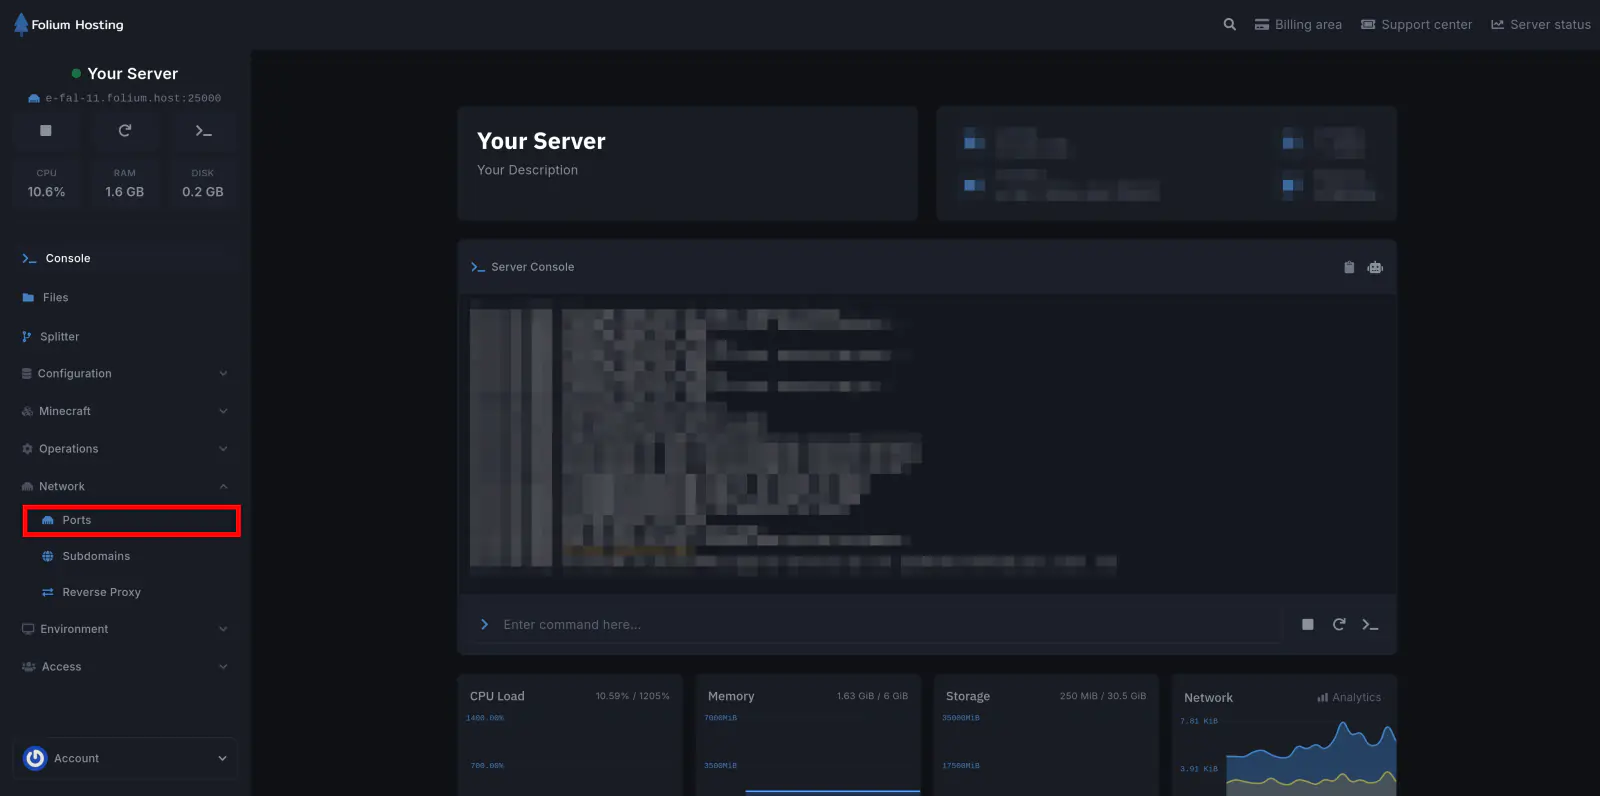
Configure Server Ports
Click Create Allocation three times. This will provide you with a total of four ports to use for your server.
Assign meaningful names to the allocations for easy identification:
- Primary Port → Game/Server/Epic Games
- Second Port → RAW
- Third Port → Query/Steam
- Last Port → Rcon
Set Startup Parameters
Navigate to the Startup tab and configure the following essential parameters:
- Admin Password - Set a strong and secure password to protect your server from unauthorized access.
- Server Map - Choose the ARK map you want to play on.
- Server Name - Select a unique and descriptive name for your server.
- Rcon Port - Use the port labeled Rcon from the Network tab.
- Query Port - Use the port labeled Query/Steam from the Network tab.
Save and Start
Save all changes made to your server settings, then start your server and invite your friends to join the adventure!
Optimizing Server Settings (Optional)
Fine-tune your server settings to create a seamless and enjoyable gameplay experience. Consider adjusting the following:
- Player Limits - Determine the maximum number of players allowed on your server.
- XP Rates - Modify the experience gain rate to balance progression.
- Taming Speed - Adjust the speed at which creatures can be tamed.
- Harvesting Rates - Customize resource gathering rates to suit your preferences.
- Difficulty Level - Set the desired challenge level for your players.
- Engram Points - Allocate points for unlocking various in-game items and abilities.
- Server Rules - Establish guidelines and rules for players to follow.
Frequently Asked Questions
How do I enable Crossplay between Epic Games and Steam?
- Go to the Startup tab of your server and disable the BattlEye option by changing
1to0. - Add
-crossplayto the Additional Arguments of your server.
How do I connect to my server?
Steam
- Launch the Steam client and go to the View tab.
- From the dropdown menu, select Servers to open the server browser.
- In the server browser, click on the Favorites tab.
- Click the Add a Server button to bring up the server entry dialog box.
- Enter your server’s address and query port (
IP:QUERY_PORT). - Click Add This Address To Favorites to save the server to your favorites list.
- Now, open ARK and click Join Ark.
- In the bottom left corner, under the filters, change the session filter to Favorites.
- Press the refresh button, and you should see your server listed.
- Click on your server to join and start playing.
If any issues arise, contact us ↗.