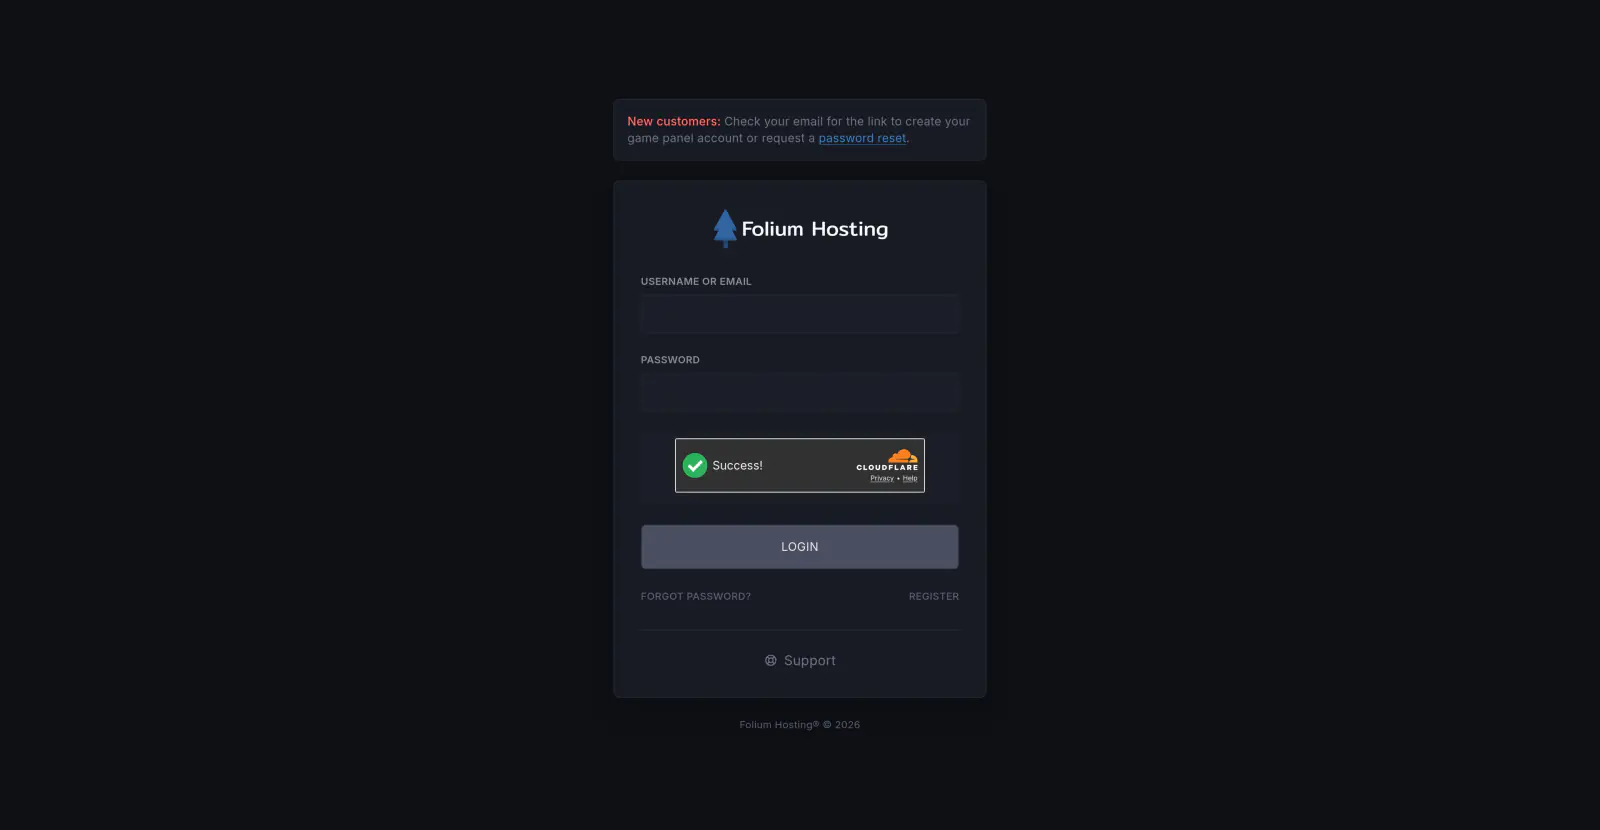
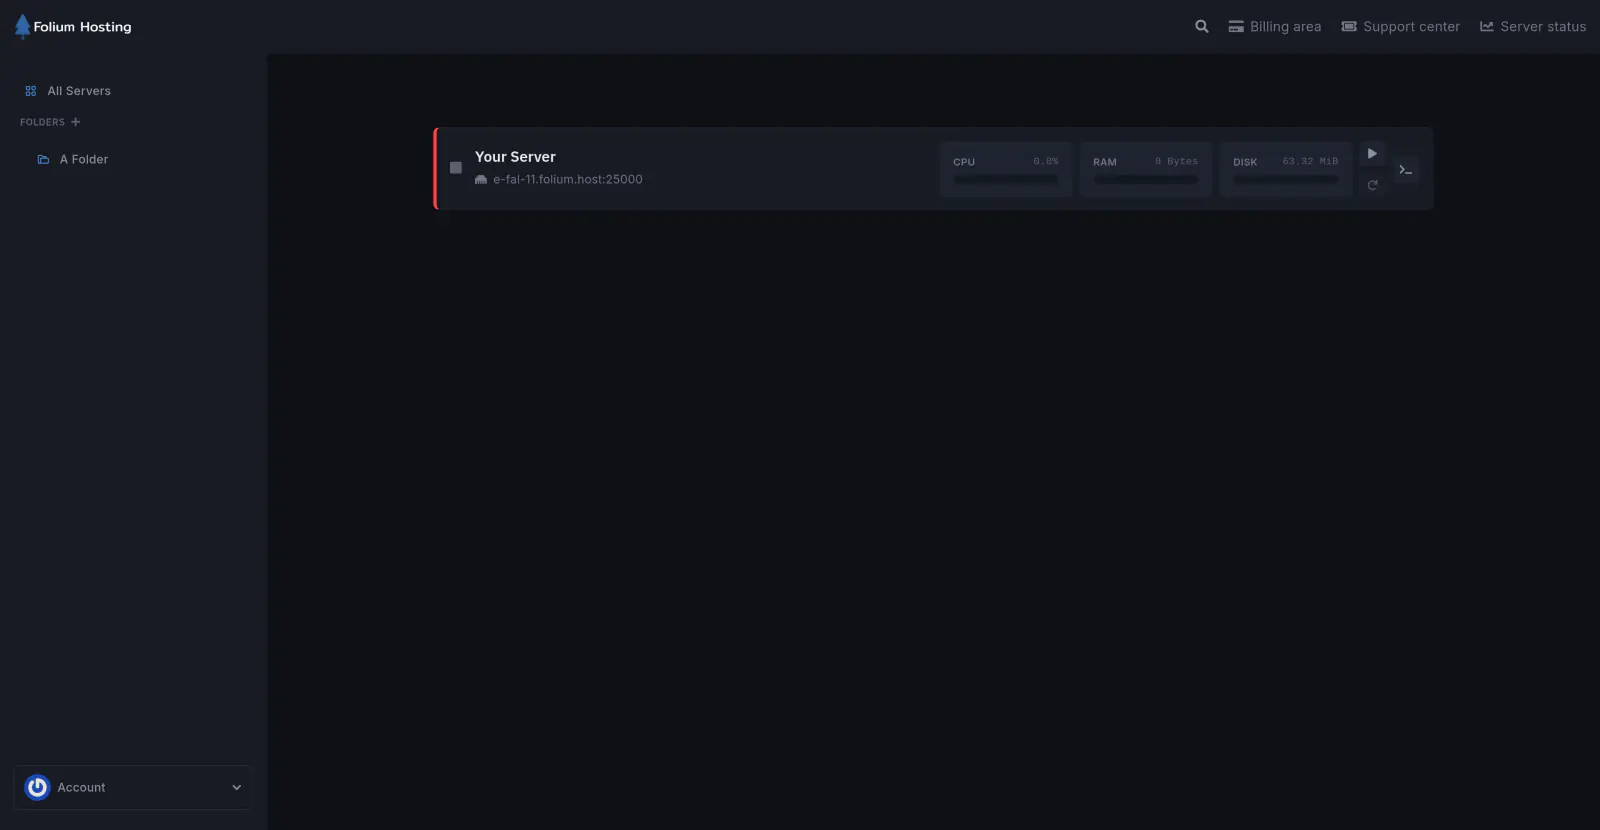
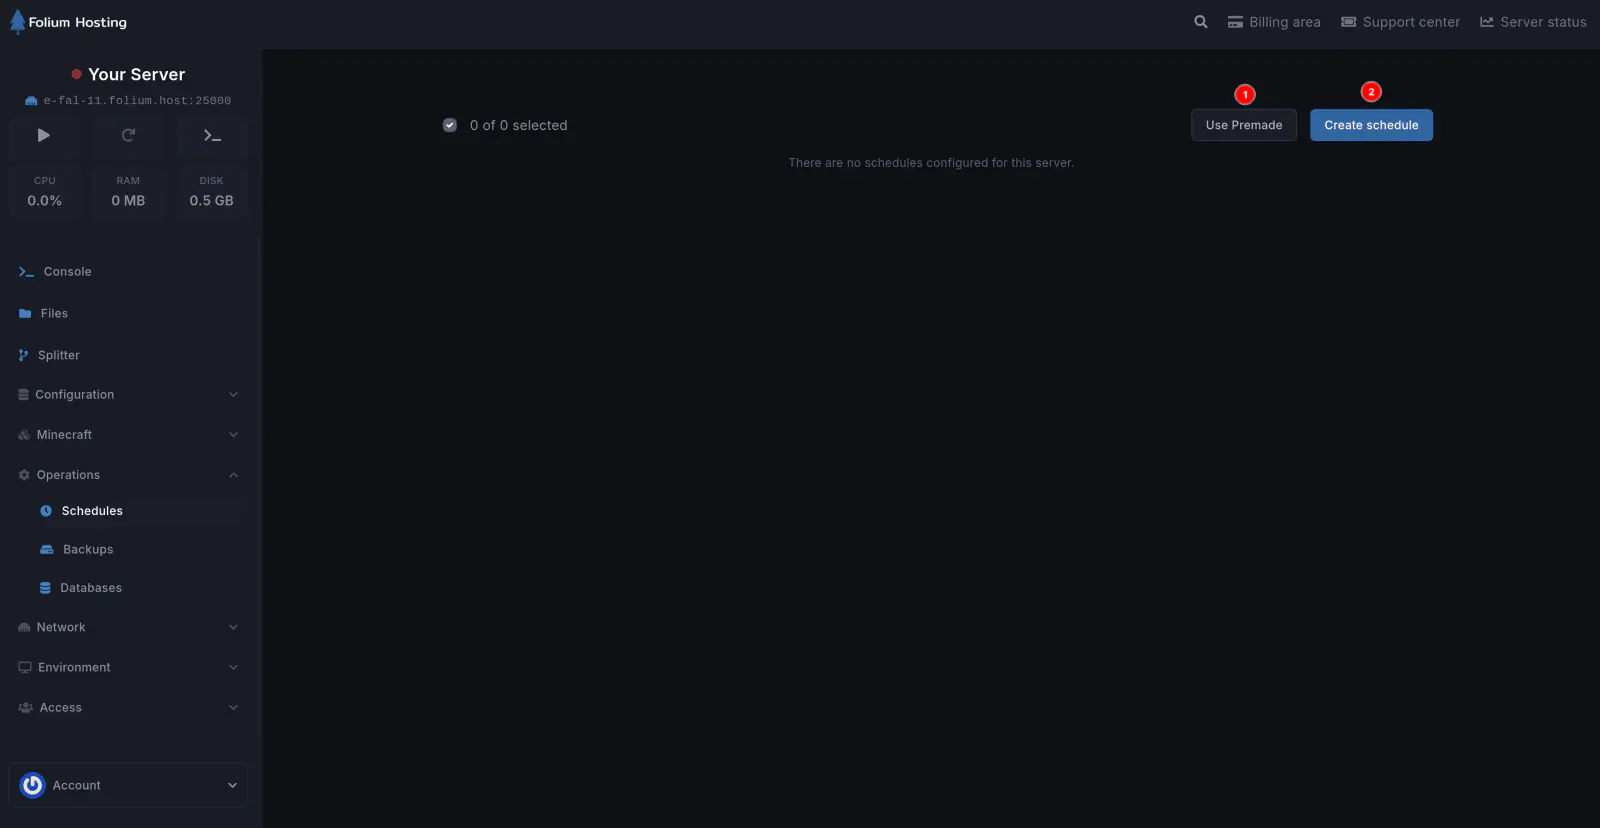
Skip to Content
Server PanelSchedules

Log In to the Control Panel ↗


Select Your Server


Create a New Schedule

Create a new schedule for a command or power action. You can name the schedule whatever you want, but we recommend making it easily distinguishable.


Manage Your Schedule

Add a task or edit your schedule actions.


Delete Your Schedule

Delete a schedule if it is no longer needed or contains errors.


Edit Your Schedule

Change the name or timings of an existing schedule.


Create a New Task

Add a restart, backup, or other action to a schedule by clicking the New Task button.


How to use Schedules tab?

Automated Backups

I. Daily

For daily backups, set the Minute Box to 0 and the Hour Box to 0.


II. Weekly

For weekly backups, set the Minute Box to 0, the Hour Box to 0, and the Day of Week Box to 0.


III. Monthly

For monthly backups, set the Minute Box to 0, the Hour Box to 0, and the Day of Month Box to 1.


IV. Yearly

For yearly backups, set the Minute Box to 0, the Hour Box to 0, the Day of Month Box to 1, and the Month Box to 1.


V. For custom time

Examples:

On every Monday at 00:00:

  • Set the Minute Box to 0, the Hour Box to 0, and the Day of Week Box to 1.

On every Thursday at 5:47:

  • Set the Minute Box to 47, the Hour Box to 5, and the Day of Week Box to 4.

Day of Week numbers: 1- Monday, 2- Tuesday, 3- Wednesday, 4- Thursday, 5- Friday, 6- Saturday, 7- Sunday.

Month numbers: 1- January, 2- February, 3- March, 4- April, 5- May, 6- June, 7- July, 8- August, 9- September, 10- October, 11- November, 12- December.

Day of Month number: 1, 2, 3, 4, 5, 6, 7, 8, 9, 10, 11, 12, 13, 14, 15, 16, 17, 18, 19, 20, 21, 22, 23, 24, 25, 26, 27, 28, 29, 30, 31. (30 and 31 depend on whether the month has 30 or 31 days).

After adding all the values, click Save Changes.


Your new schedule has been added. Now add a task to it.

Click on the Manage Schedule.


Click on New Task.


In the Action dropdown, select Create Backup, then click Create Task.


Your Automated Back-up has been created!

Automated Restart

Create a new schedule and name it Automated-Restart, then follow the time settings above.

Follow the steps below:

Click on the Manage Schedule.


Click on New Task.


In the Action dropdown, select Send Power Action and under the Payload dropdown, select Restart the Server, then click Create Task.


Your Automated Restart has been created!

Automated Commands

Create a new schedule and name it Automated-Commands, then follow the time settings above.

Follow the steps below:

Click on the Manage Schedule.


Click on New Task.


In the Action dropdown, select Send Command and under the Payload, type the command you want the server to execute at the given time (without the ”/”). Then click Create Task.

Examples:

  • Whitelist [playername]

  • Kick [playername]