Enhancing your ARK: Survival Evolved server with mods can greatly expand gameplay and create a unique experience for players. Mods can range from quality-of-life improvements to complete game-changing mechanics.
If you don’t already own an ARK server, you can purchase one from us at foliumhosting.net ↗.
Locate and Choose Mods
First, you need to pick the mods you’d like to add to your server. These are hosted on the Steam Workshop . To find mods:
- Open Steam and navigate to ARK: Survival Evolved in your library.
- Click on the Workshop tab.
- Browse or search for mods that suit your server’s needs.
- Click Subscribe to add them to your Steam account.
Each mod has a unique Mod ID, which will be required for the installation process.
Retrieve the Mod IDs
To install mods on your server, you must obtain their Mod IDs:
- Click on the desired mod in the Steam Workshop.
- The Mod ID is located in the URL, typically at the end (e.g.,
?id=123456789). - Note down all the IDs of the mods you want to install.
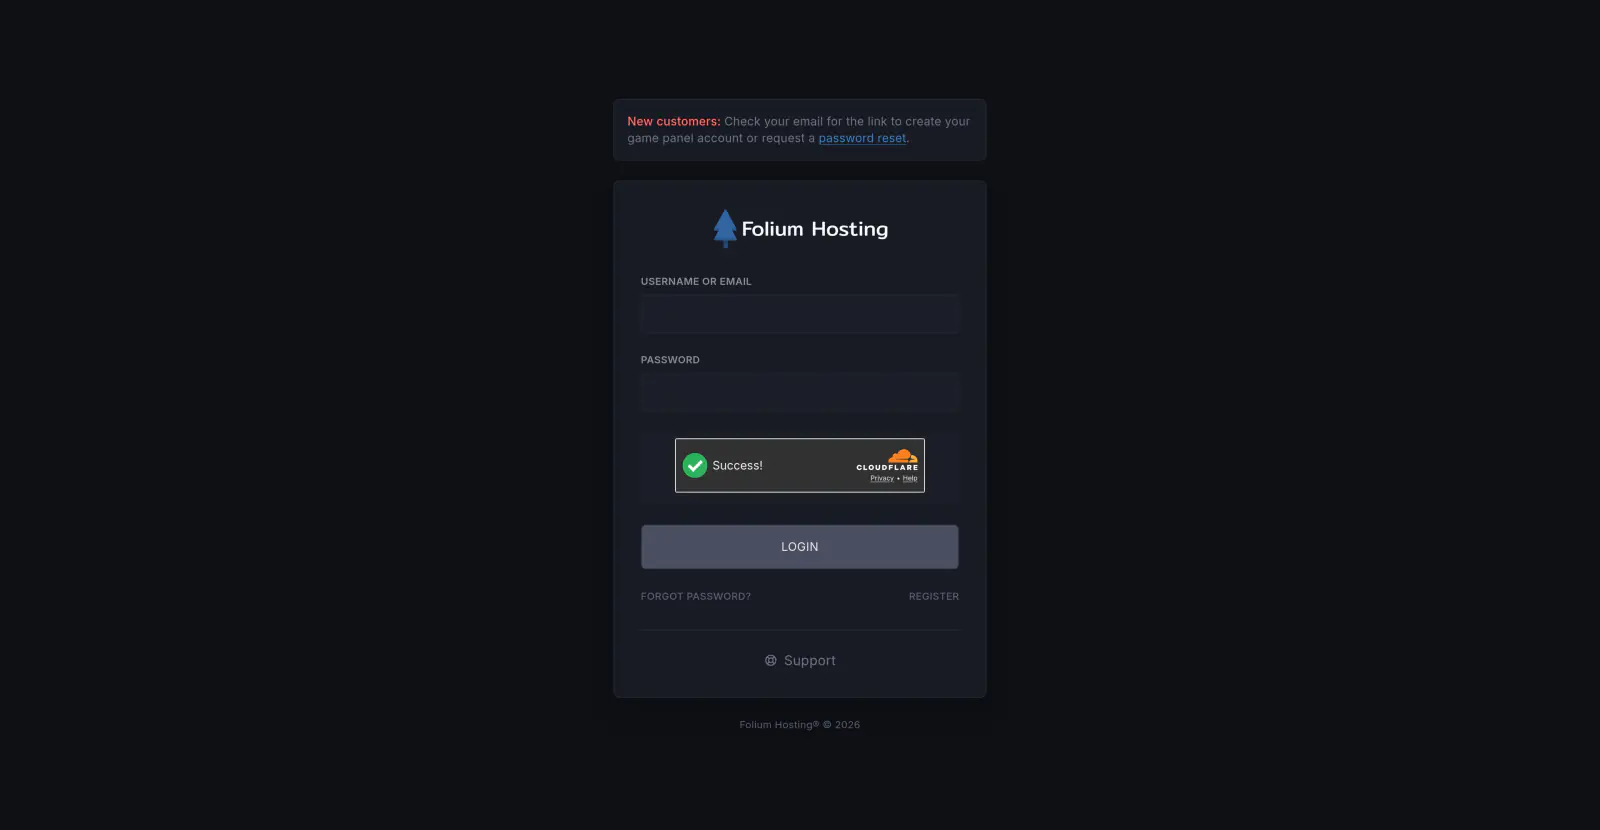
Log In to the Game Panel ↗
Select Your Server

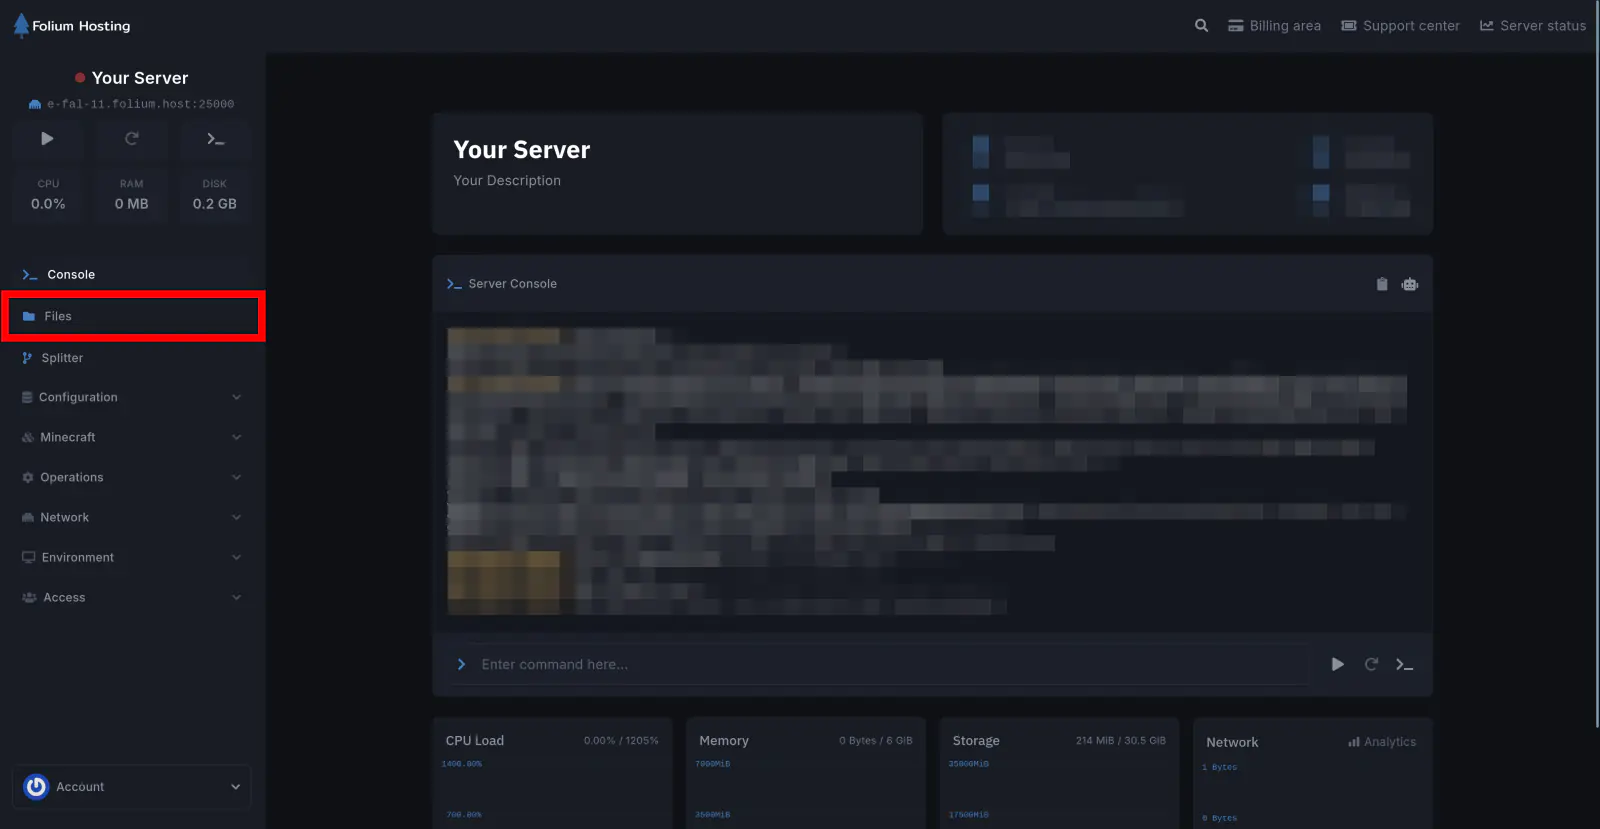
Go to the File Manager Tab
Add the Mod IDs to GameUserSettings.ini
Locate the GameUserSettings.ini file, usually found under ShooterGame/Saved/Config/LinuxServer/.
Add the Mod IDs under the [ServerSettings] section, then save the file:
[ServerSettings]
ActiveMods=123456789,987654321
Replace the numbers with the actual Mod IDs.
Adjust Your Startup Parameters
Once you’ve added your desired Mod IDs, you are a few steps away from letting the server do the rest:
- Navigate to the Startup tab.
- In the Additional Arguments, add this:
-automanagedmods
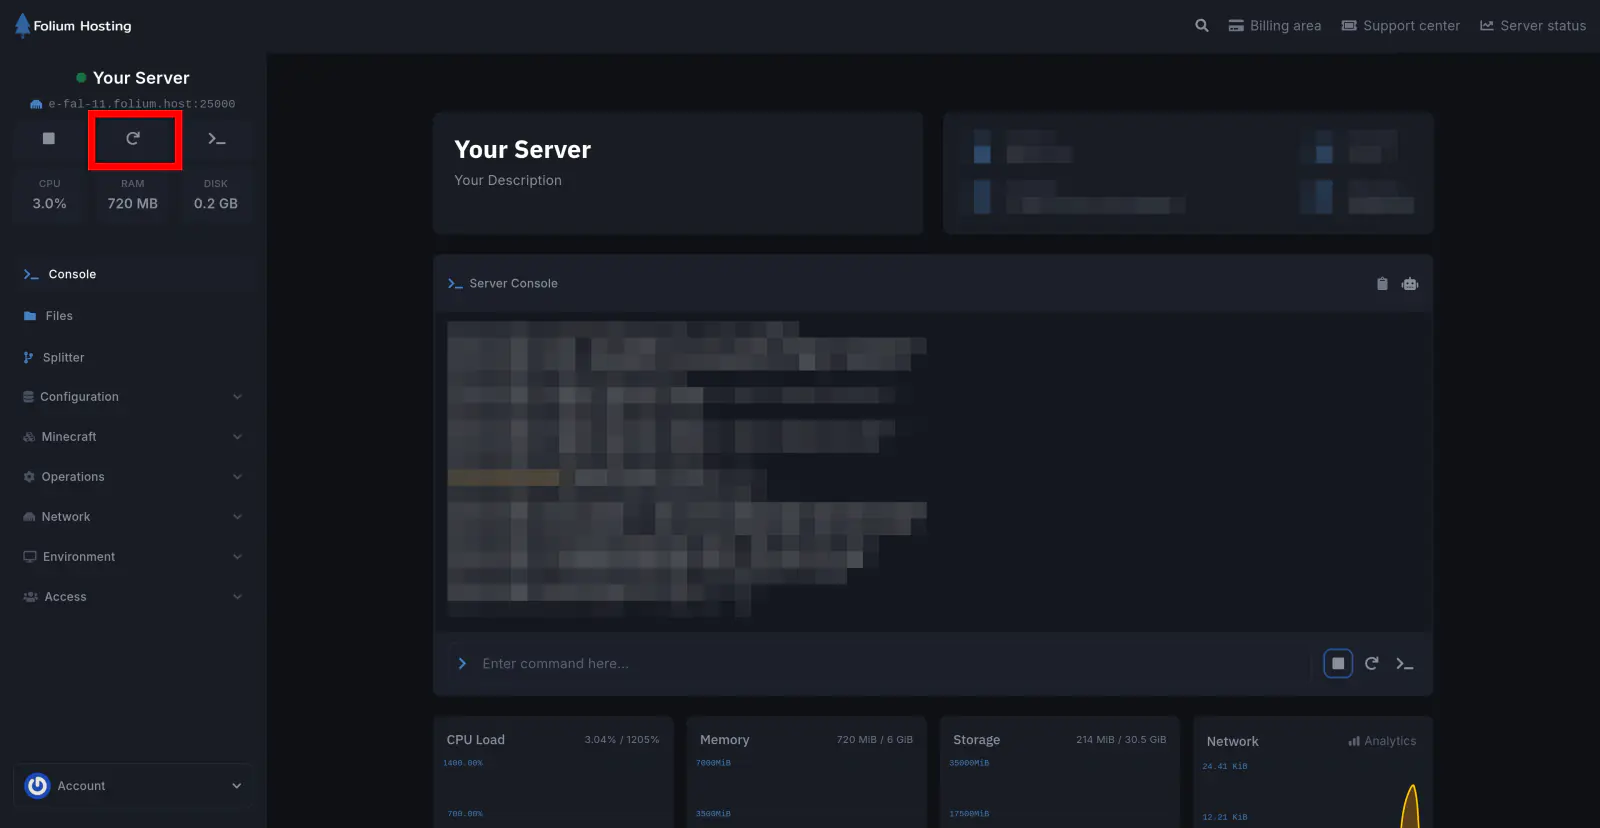
Restart the Server
You’re all set! Just restart your server and the mods should be installed automatically.
If any issues arise, contact us ↗.